Advice for beginners: Tattooing Lines
Common Issues When Tattooing Lines and How to Solve Them.
13 March 2024
Almost everything in our world is composed of smaller parts that come together to form something larger, and in tattooing, it's no different...
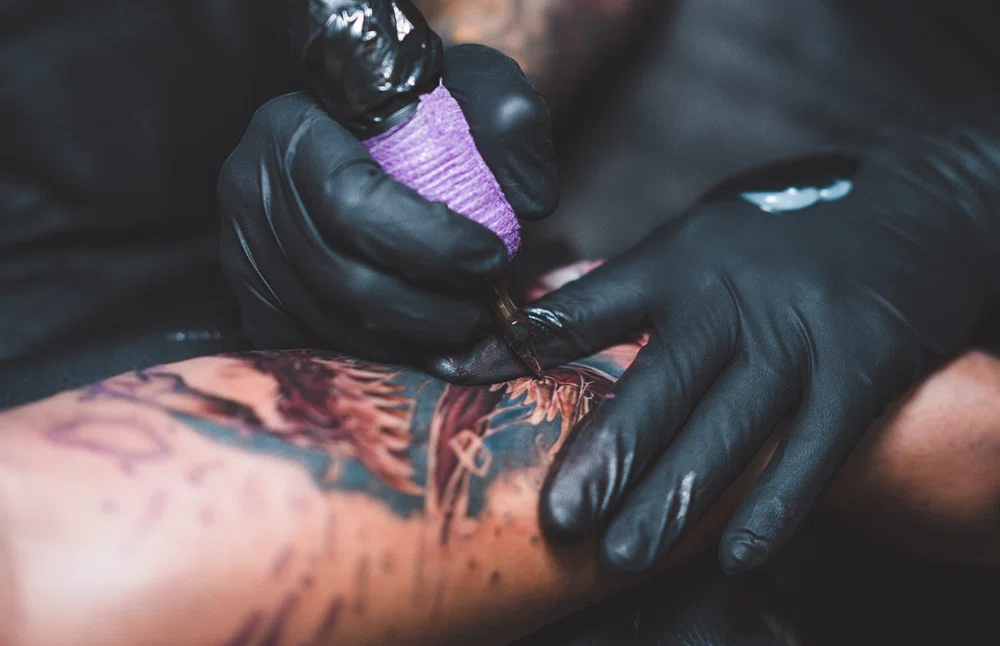
Let's remember that when we tattoo, the machine deposits ink through one or more needles that penetrate the epidermis at different speeds, being the dot the first contact of the needle with the skin.
So, essentially, what shapes the designs on the skin is a continuous series of dots.
You might then wonder: what about styles like Blackout?
Well, simply put, the distance between the dots is smaller, whereas, for example, in Dotwork it's larger.
In the end, whether more or less distinguishable, there will always be dots, but there will also always be lines, even when the goal is not to see them at all...
And it's crucial that these lines are well executed according to their function.
Something complex to achieve, but which can be simplified with the voice of experience.
Fancy a couple of tips for tattooing crisp lines? Keep reading!
The Role of Line in Tattooing
Let's start by differentiating that each style has different goals regarding its components, although they share the same ones.
For example, Realism has both defined lines and water lines, which are intended to remain hidden, and even to end up completely erased.
And why are they so crucial? Because they define figures, create contrasts, and preserve the design over time.
They are the invisible cord that keeps everything in place under the skin.
They can vary in thickness, direction, or shape, and even mix with dots to generate different shadows and textures; as is the case with the whip shading or cross-hatching technique.
Overall, the line plays a unique role in each tattoo style:
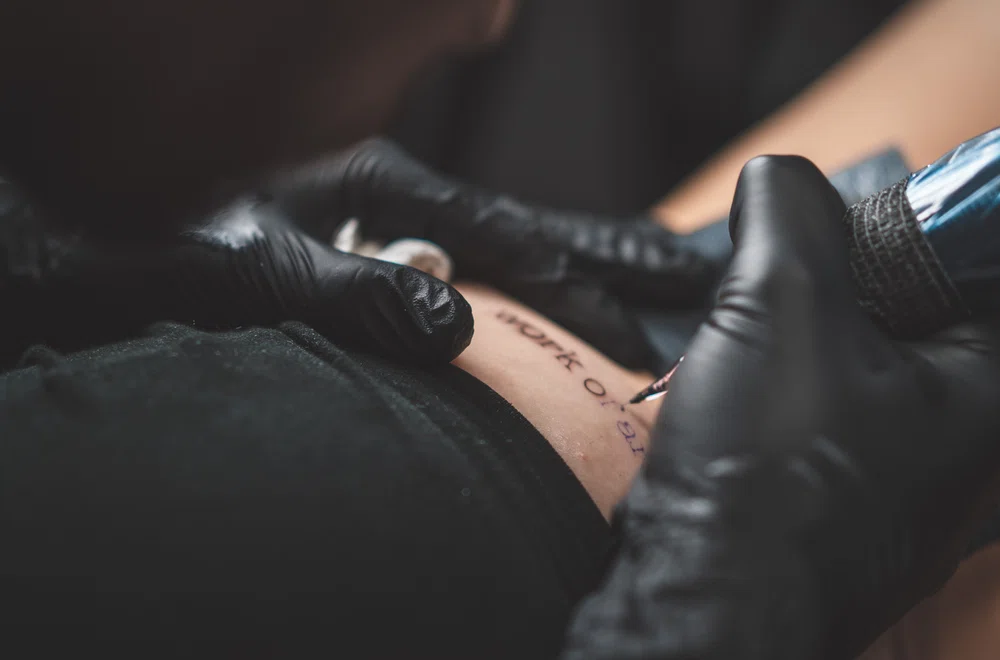
- FineLine: it's the essence, mastering it is key to a striking result.
- Geometric: it brings figures to life, defining their boundaries.
- Traditional: its thickness delimits contours with character.
- Neotraditional: it reinforces contrasts and highlights details.
- Blackwork: it defines tonal changes and frames areas.
- Anime: it adds expressiveness to characters.
- Organic Realism: although more subtle, it has a significant presence.
- Blackout: it mostly serves to delimit specific designs.

Now that you already figured out its importance, the million-dollar question is...
Tattooing Lines for the First Time
To discover how to tackle the most common problems when tattooing lines, let's first take a brief look at the tools you use to execute them.
Tools and Materials for Tattooing Lines
1. Tattoo Machine.
Here, there are mixed feelings, as there are many types of tattoo machines, and it all depends on each artist's preference.
Some prefer coil machines because they have a strong and sharp hit that helps achieve more prominent lines.
But others opt for rotary machines because of how versatile and precise they can be.
So... Which one is the best?
Neither one nor the other, as this choice is relative to your style and experience.
Either way, you should bear in mind:
- A good intermediate stroke for fine lines, and long for thicker ones.
- Intermediate force for fine lines and strong for thicker ones.
2. Needle.
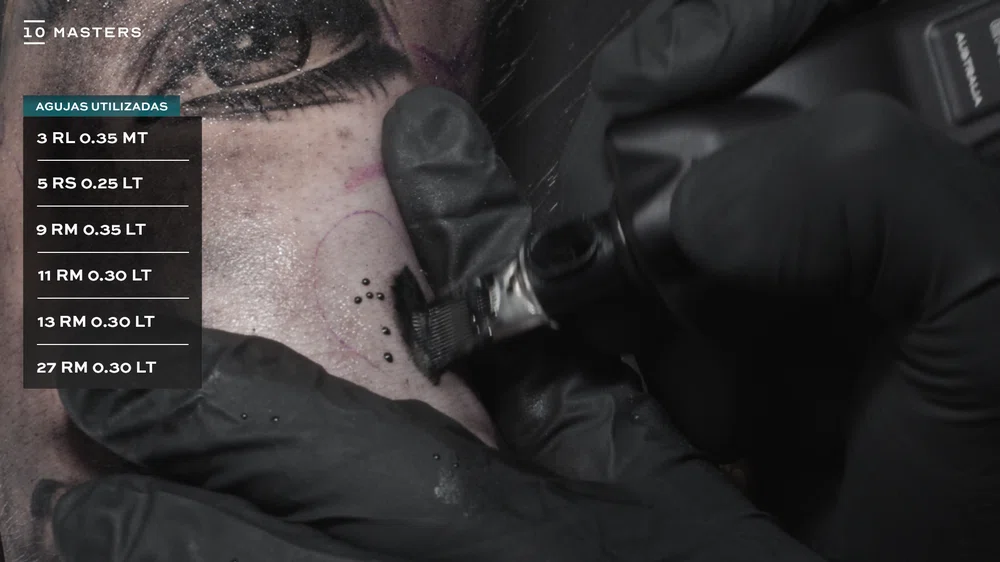
For lines, the best ones are usually Round Liners, as they have a circular configuration and very close tips.
Thickness will depend on the size of the line you want to make. The range of
needles available is also extensive. To learn all about them, take a look at our
complete guide to tattoo needles.
3. Ink.
It's not rocket science; it must be liquid and pure, so it can be easily deposited into the skin.
Tips for Tattooing Precise Crisp Lines
- There should be the least possible space between the tip and the needle so that the needle is stable and does not move while tattooing, affecting the appearance of the line.
- Make sure the grip is comfortable to use. Try several until you find the one that guarantees the necessary stability.
- Control your breathing to avoid strange movements that affect your pulse.
- If you need to make a long line, make it in sections of several short ones.
- Until you have more experience, avoid areas like the neck or chest, where it is more complicated to make a good line due to breathing movement.
- Voltage is subject to many factors, so start with a low one and gradually increase it until you find what’s most comfortable.

Common Problems When Tattooing Lines
Among the most common problems, we can highlight two:
- Lines that expand more than they should, known as blowout.
- Lines that are not solid enough.
Let's analyse them in detail:
Blowout or expanded lines.
The reasons for this problem are varied, let's see what they are and their respective solutions:
1. Excess of ink.
You may be tattooing at an optimal depth, but with too high voltage, causing the number of punctures per second to increase and, therefore, more ink to accumulate in the same place.
Solution: Lower the voltage.
How much? Gradually reducing 0.5 volts would be ideal.
2. Excess of depth.
You may apply the right amount of ink, but too deeply, causing the pigment to be deposited in the hypodermis instead of the dermis, and consequently, to spread; besides generating unnecessary pain to your client.
Solution: Hide the needle in the tip a little more, and don't press so hard.
Now... if you have already tried lowering the voltage, putting the needle in the tip, and not tattooing with so much pressure, but your lines keep blowing out, the following options could be of help...
3. Needle size.
It's easier for a Liner 3 to blowout than an 11, so use a slightly thicker needle
For example: If you are tattooing with a liner 3 of 0.35, you could use a 5 of 0.30, or if you are using a 3 of 0.30 one, you could benefit from a 5 of 0.25.
The result will be similar, but you will significantly reduce the chances of the ink spreading.
4. Weak machine.
Some machines don't have much power, forcing you to press quite hard on the client's skin. Keep in mind that, to make lines, a powerful machine helps you work more superficially.
What to check in this case?
The stroke in the tattoo machine, which is where the length is regulated. If your machine has a stroke of 3, try to have it of 3.5 or 4 mm.
Having understood all this, now let's look at the second most common problem when tattooing lines...
Not Solidly Enough Lines
Achieving solid lines from the start can be quite a challenge. In fact, many times when we try to improve them, it gets worse and ends up affecting the design
Besides, insisting too much on an area can overly damage the skin, causing anything from mild discomfort to more serious wounds that complicate the healing process.
To help avoid this, it is important to be careful not to introduce too much ink under the skin. If this happens, the body may expel it, which is good, but it can also encapsulate and create a bulging line that protrudes from the skin, leaving a permanent relief.
That's why it’s crucial to find a balance between improving the lines and caring for the skin to avoid complications.
How do we achieve this? By checking absolutely EVERYTHING.

5 key factors to consider:
- Make sure the needle you are using is for lining and has the appropriate thickness. If you're unsure, use the thickest possible one, and only expose the part of the needle cartridge that you will insert into the skin.
- Confirm that you are using a specific lining machine or a versatile one. If it's a coil machine, make sure it's properly calibrated.
- Ensure that your hand has a firm support point.
- Check the power supply; if the voltage is too high, lower it, and if it's low, gradually increase it.
- Don't make the line with the machine perpendicular to the skin but at a 90-degree angle.
The Key to Master Lines in Tattooing
Beyond the techniques and tools that help you do the job, practice will always be fundamental to achieving exceptional lines in the art of tattooing.
Every stroke, every perfected line, is forged with hours and hours of dedication, effort, and a lot of patience.
So, mastering lines involves understanding their technique and investing as much time as possible in putting it into practice, both on synthetic skin to understand the mechanism and on human skin to understand the true effect of needles and ink on our bodies.
So, now you know, go practice!

We will never tire of saying it; if there's one thing we're clear about, it's how much practice influences your development as a tattoo professional.
And that's why our comprehensive tattoo courses not only offer theoretical, technical, and methodological knowledge but also include hours and hours of guided practical exercises to help you apply everything you've learned so you can level up.