From drawing to stencil: how to make your templates
How to transfer your designs and the digital tools to use
04 January 2024
Creating a tattoo is not an easy task. Reaching an agreement with your client and defining a design can cost you time, but it’s an essential part of the tattoo.
The tattoo you make is meant to stay with your client his whole life, that’s why it’s so important to remain as neat and faithful as possible to it.
To do so, you have to assure that the process of the transfer go perfectly as planned, to avoid possible problems or confusions when using the needles.
But first, let’s clear out some doubts.
What is a stencil?
It’s the ‘template’ that carries the design that’s about to be tattooed and which will be used to transfer the design over the client’s skin. It’s your loyal guide.
Keep in mind that the stencil is one of the most important parts of a tattoo, as you entirely depend on it to get the desired results.
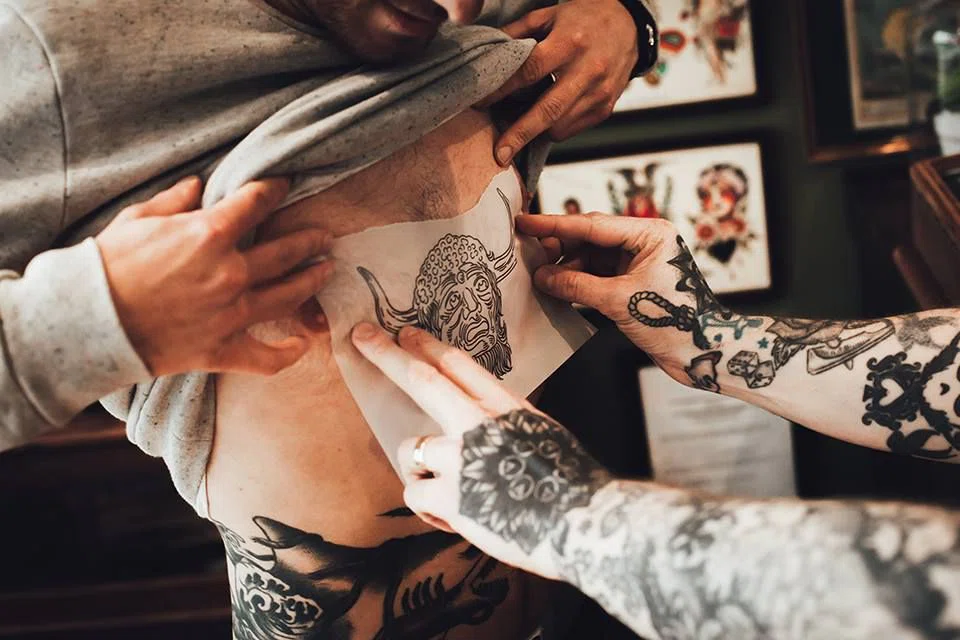
For that reason, paying full attention to it and seeking to get the clearest of the transfers, stay true to the details and obtain a good “print” of it is essential. You should be extra careful with this, as you wouldn’t want to make a mess of what another person will carry for life.
Nowadays, to make the stencils or templates, you can use a paper that has been specifically designed for this purpose, and it is called hectographic paper.
Let’s see what’s this all about…
Hectographic paper
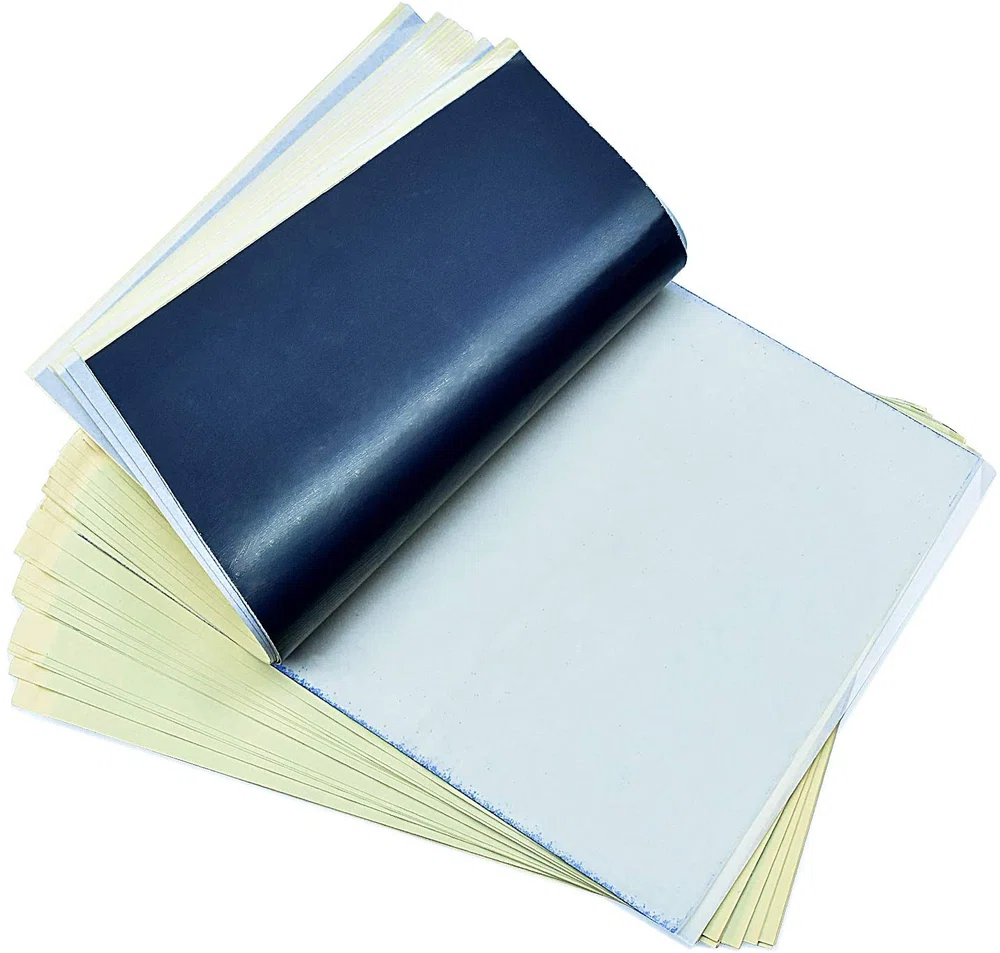
Hectographic paper is the most popular paper for making templates. You can get them at any tattoo supplies shop.
It is composed by printing ink mixed with grease, which better makes the adhesion of the pigment, and helps not to blur or fade away easily.
They usually come in blocks and each paper is covered by two sheets: one that protects it and the other used to print the design to be tattooed. It's pretty common to confuse these two, so, remember to remove the protecting one, and instead, use the other one below.
How to transfer the drawings to the stencil?
Ok, now that we know what a stencil is, let’s see how we can transfer the drawing to it to make it a template.
Well, there are two ways of doing it. The first one would be the old way: manually. This is the most traditional method and through what all the old-school tattooists have gone.
The second one would be digitally, which is faster due to the advantage of the modern tools.
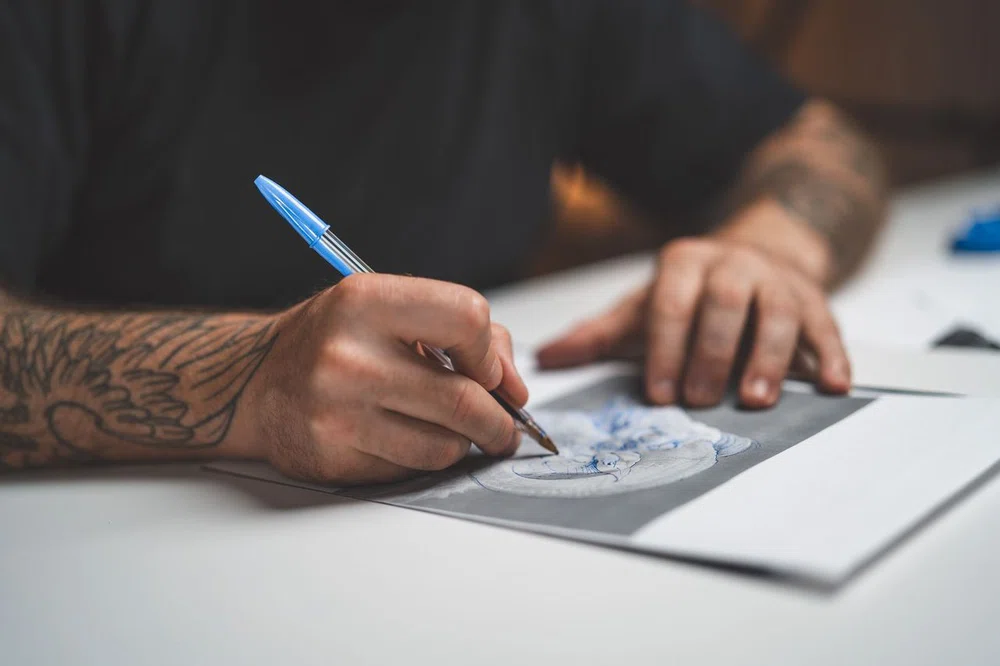
The first mentioned consists of manually transferring with a pen or pencil the full design over the inked paper. But this can create some imperfections that could actually be solved with the second method.
In the digital way, though, you can improve the stencil to the extent of obtaining the same result as the original, thus keeping it true to the design. This is key, as the stencil is your faithful guide to your whole working process, for what you must get it right.
Let's see how it works.
The modern way: digitally
Special tools for editing and illustration can be very useful for complex designs. Besides, they save you time and help you get neater transfers. Let’s go further on it.
Software programs such as Photoshop, Illustrator or Procreate are perfect for the job, because of their precision. If you want to learn more about this, here we share everything you need to know on designing tools Best tattoo design applications.
But if you are one of those who draws on paper, we will tell you how you can use these tools.
After making your design, the next thing will be to scan it and open it with one of the mentioned programs. Once there, you’ll be able to work on it however you like and turn your handmade traces to “clearer” digital traces. Plus, you’ll get to edit whatever you consider necessary and merge different designs.
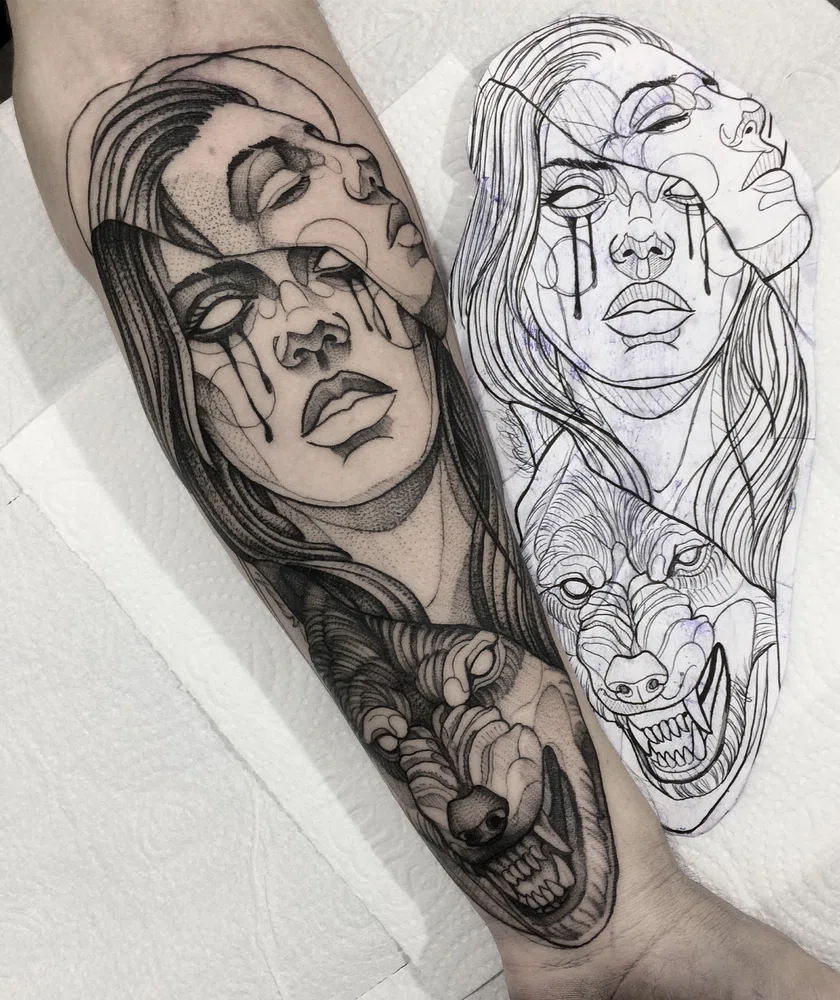
What matters here is that the main lines and details that shape your design get captured in the clearest of the ways and with the least of the complications. Once you achieve this, you’ll then print it over the hecterographic paper.
Shall we see how?
Thermocopier machines
Also known as thermal printers, are the ones you are going to use to print your design on hectographic paper, without needing to work by hand.
These printers have different uses, but tattoo artists use them to create their templates in a more precise and agile way.
They are said to be “thermo” copiers precisely because they heat the layer of paper covered by the ink to thus transfer the design.
Once your design is nice and ready in the editing tools, you’ll print it in black & white onto a regular sheet of paper. To then pass it through the thermocopier which will transfer it for you.
In general, these machines have the “mirror” option so that the design isn’t upside down once you want to transfer it onto the body of your client. But if the printer you have does not have that option, remember to mirror the design from the editing program and only then print it out and follow all the steps.
Otherwise, the transfer will end up backwards and most certainly your client won’t be happy about having a tattoo that only looks good on selfies.
These printers are really very good and have been able to significantly speed up work that was previously only done by hand, which led to several errors. In addition, usually they are not too expensive, although, of course, you can find it of all kinds in the market.
How to print the design over the skin?
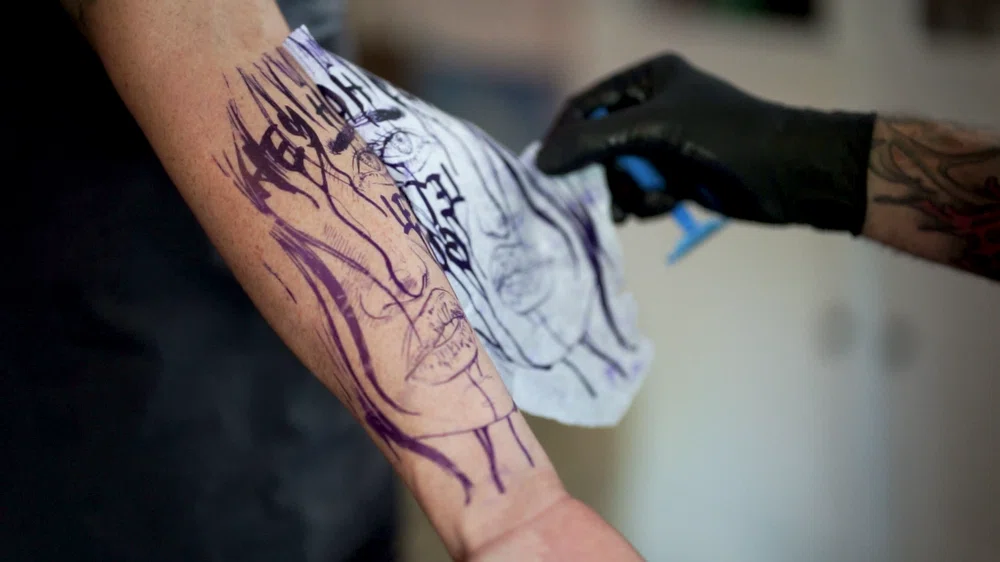
OK, you have the print, now it’s time to make transfer it into the skin. And to do so, you’ll first have to shave the area you’re about to tattoo. As light as hair can be, it’s always better to pass the razor because they may still interfere with the ink getting in, and if you don’t do it correctly, it can compromise the design.
Cleaning the body area with an antiseptic is also necessary. But be careful of which one you choose, as it shouldn’t be too strong or abrasive, in order to avoid skin irritations and unnecessary extra pains.
You’ll then use a specific product that you can find in any tattooing store under the same name of ‘stencil’. Professional tattooists recommend not to exceed with this product and instead apply a thin layer to avoid ink from running down.
You may have heard something about using deodorant instead of stencil… DON’T DO THIS, it’s a shabby poor quality practice, and it doesn’t even give you good results. You get what you pay for!, better pursue a good quality stencil. You’ll see the difference.
Place the stencil and wait for a couple of minutes, so it attaches to the skin. It’s highly important to be cautious at this stage and give yourself all the time you need to get it right, don’t rush!
The transfer should always be as perfect as it can be, with no double-lines, rubs or stains. As told you before, the stencil is your faithful guide to make the tattoo right, so, making it wrong can only bring problems to you. Take care of both your job and your client’s skin!
Afterwards, carefully remove the stencil, either by starting from the top to the bottom, or by a corner until you took it all off. If you notice that there’s been an error, the best would be to start all over again. Erase everything from the skin with alcohol and make a new print. Don't worry about the time lost and go ahead!
Lastly, let it dry for a few minutes and… time to tattoo! Try not to rub your hand against the untattooed parts to make the stencil’s ink last longer and avoid undesired erasing.
Using these tools will benefit your work
Nowadays, there are many ways of transferring a design. The new digital tools can help you widen your options when it comes to working on details, and thermocopiers have added even more interesting rules to the game.
Either way, neither method is better than the other. What to prefer is up to every artist. Remember: we suggest, but you decide!
Anyhow, do not stop working on the drawing by hand, this is extremely important for your learning and, above all, you will see that you will be able to understand much more how to make the strokes, then transfer that knowledge to the tattoo, and work better with machines, inks and needles.
You can combine analogue and digital tools to achieve an excellent result. Truth is, what really matters is that you focus on the most convenient method for you, something you can only discover through practice and experience.
And since we firmly believe that the only way to succeed in tattooing is through constant practice, we have compiled a wide collection of exercises guided by experienced professionals. Get hands-on with our complete professional tattoo courses, which not only teach you all about theory and technique but also guide you step-by-step so you can level up your tattooing skills.